
Friday, December 17, 2010
Na Na Na Na Na Na Batman :)
 I wanted something really easy that I could whip up in two seconds, something that didn't require me to pay much attention. So, using leftover red, black and white paper from my friends birthday present I whipped up these little guys...
Flying Bats
What I used:
- Paper - black, red and white
- Scissors
- Pencil
- Glue
- Sticky tape
- Fishing line/string
What I did:


2. Cut out, along the lines of the shape you just drew and unfold it.

3. Using the white paper cut out two small triangles.
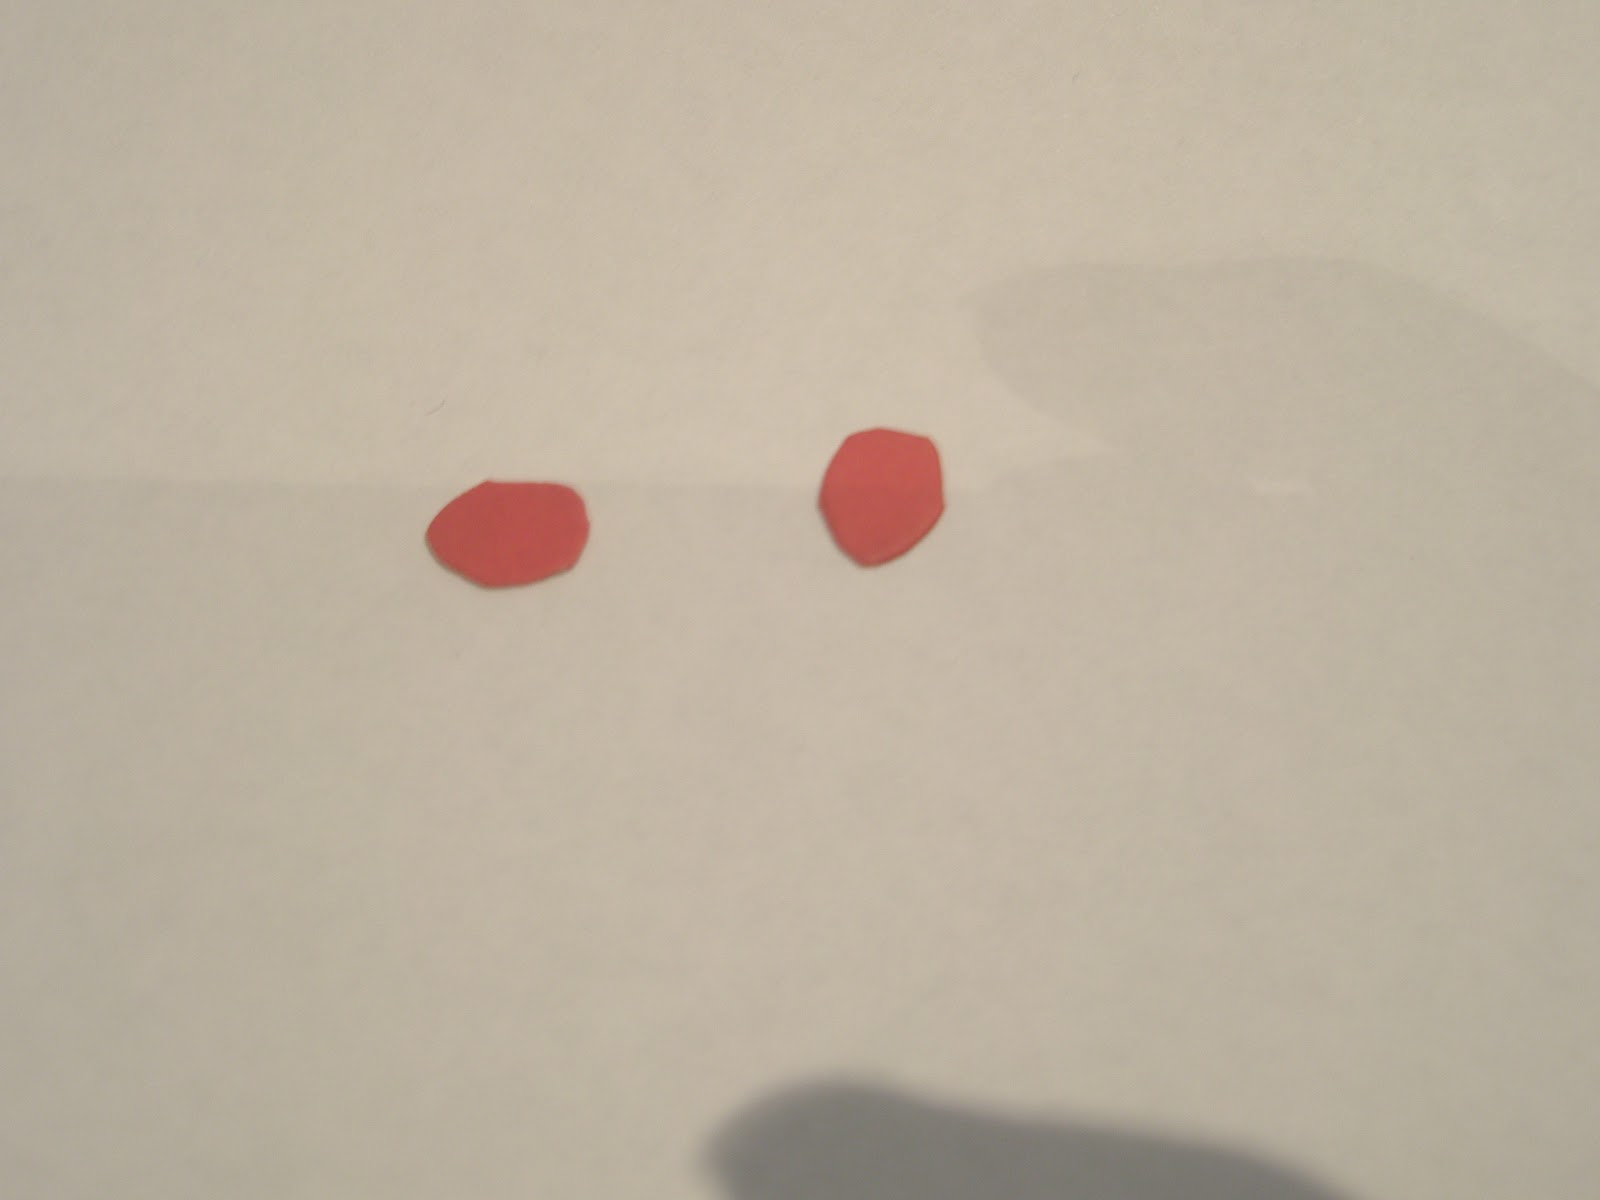
4. Cut out two red circles out of the red.

5. Glue the white triangles onto the bat shape in the middle

6. And glue to circles directly above them.

7. Sticky tape the back of your bat onto the end of a piece of string and then glue two bats back to back.
Thursday, December 16, 2010
Into the Christmas Spirit
 When I was told I had to make a Kris Kringle this year for a girl I didn’t know, I was dumbfounded on what to make. Most of my ideas just don’t work out! So I tried making something that involved no glue, and no mess! And I decided to make some….
Christmas Pom pom Ball balls
(i just love saying it!)
What I used:
Approx. 35cm of white felt
A 6cm polystyrene ball
Pins
Ribbon
What I did:


2. Make a loop with the ribbon as seen in the picture, and using one pin, pin it onto the ball.

3. Now take a felt circle and fold it in half and half again (You can make different shapes and designs with each of these circles or you can stick to the simple ‘half and half’ rose shape.)

4. Place a pin through the corner and pin it into the polystyrene ball.

5. repeat steps 3 and 4 until all of your ball is completely covered.

6. you may choose to add things to your ball balls, i used holly, but my mum found some sparkly hair pins to use as well.
Half a Century
For my Mum’s 50th birthday she’s having a horror themed party and I have allocated myself (due to her over exaggerated ideas that were entirely impossible) as the event planer. Her party is not until February, but already I am planning everything. I’m trying to keep as many things as I can homemade, this means less cost and more fun for me!!

 - Tissues (because I didn’t have tissue paper)

1. Cut out the spider webs off the cupcake wrapper, cutting out the spiders from a separate cupcake wrapper.


So we’ve come up with practically every idea for our decorations and games ourselves, as we have searched the internet for games for a horror or Halloween party and there were not many games suitable for people over 40.
I’ve started with the simplest decorations first, and that for me is lighting. The idea is to keep the inside of the house as spooky as possible, so more candles instead of actual lights. My first idea was to have some spooky little lanterns that I can hang around the house or place along the walkways.
Spider-wed light

What I used:
- Glass or plastic cup
 - Tissues (because I didn’t have tissue paper)
- Spider web cupcake wrapper from http://lehanes.com.au/
- Tea light candle (I used a battery operated tea light candle from http://lehanes.com.au/)
- Sticky tape
- Scissors
What I did:


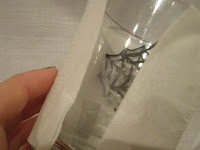
2. Place two little squares of sticky tape on two corners of the web and stick it to the inside of the cup.

3. Once all spider webs desired are inside the cup grab the tissue, or tissue paper, and cut it to size, then wrap it around the glass. Sticking it into place.

4. Once that is done, place a tea light candle inside (I used battery operated for safety) and there you have it, some spooky little lights to light up the hallway, the tables and even around the garden.
Subscribe to:
Posts (Atom)